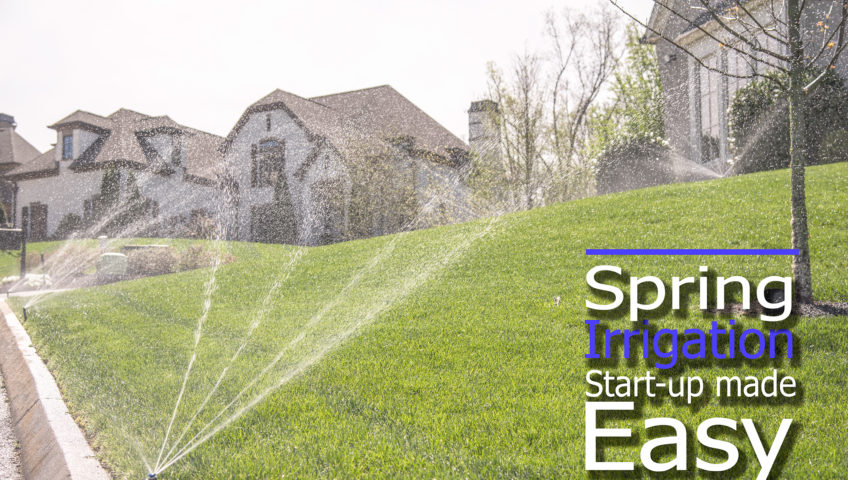
A familiar cycle of events
For those of us in climates that reach freezing temperatures during the winter months, we are all too familiar with having to winterize our irrigation systems and starting them up in the spring. Most homeowners rely on professional help to winterize their system because of the need for special equipment. Spring start-ups can be done without having to have a large air compressor or cost prohibitive tools. With that in mind here is a handy check list to help get an irrigation system ready for the year.
*A word of warning: Do not start your system too early. Be sure that you have had the last frost of the spring to avoid potential damage to your irrigation system.
Activating Your Irrigation System
The first step is to locate your backflow preventer. Your irrigation contractor may have removed your device and given it to you to store inside to protect it from theft. Once in hand, re-attach your backflow prevention device to the place from which it was removed. Be sure to pay attention to the direction of water flow to avoid installing the device backward. Once attached you will need to un-winterize the backflow by closing all the test cocks, opening the shut-off valves all the way, and tightening the bolts around the diaphragm, being careful to not over tighten.
Once step one is complete, go to your systems control panel and power it on. Set up scheduling as needed for water coverage and do so with care. A correct watering schedule saves your plants and your wallet as watering too much or too little can damage your lawn and landscape. Next, manually run your first irrigation zone. This is important to do BEFORE turning on any water. Having the valve open helps to lessen the possibility of damage from the water filling the system.
Turning the Water on
Now locate the main water shut-off valve to the system and slowly turn it on. This is arguably the most critical part of the process. Turning the water on too fast could create a water-hammer-type situation and damage various components of the system.
After a few minutes the system will be fully charged and the activated zone should start performing as normal. Be on the lookout for water pooling or bubbling from the ground, as these warning signs could indicate you have a leak. Continue this process for the remainder of the zones. If the pressure seems low or none of the zones function, you may have a leak underground somewhere.
Visual Inspection
Visually inspect all the components of the zone and mark any repairs that need to be made so you can come back to them. Check the irrigation sprinkler heads, making sure they are rotating properly and spraying in the correct places. Clean any dirt and debris from clogged nozzles that affect spray patterns. Be on the lookout for water pooling or bubbling from the ground, as these warning signs could indicate you have a leak. With all the above completed, visually inspect your backflow preventer while it is under pressure for any leaks. If that looks good, check the water meter tied to the irrigation system. There should be a small leak indicator dial on the meter. Verify that your irrigation system is leak free. Now it is time to go back and make any changes or repairs you marked during the run through.
Congratulations! Your Irrigation System is Activated for the Season
Once you are satisfied with all your repairs, allow any glue that was used sufficient time to cure, and then you are ready for use. Turning on your irrigation system can be a complicated process. If you are unsure, do not hesitate to hire a professional. A certified company who knows irrigation systems does such all the time and can get the job done quickly and correctly. Any irrigation system that may need repairs can be immediately addressed and corrected by an irrigation technician who will most likely have any parts needed for repair on hand. Then your lawn and plants will thrive with the proper watering cycle from your irrigation system for the rest of the growing season.